Windows host - agent based solution
Axoflow provides Axoflow agent for Windows (a customized OpenTelemetry Collector distribution) to collect data from Microsoft Windows hosts.
Axoflow agent can collect data from files, Windows Event Log, and Windows Event Traces (ETW).
What the installer does
When you deploy axolet, you run a command that installs the required software packages, configures them and sets up the connection with Axoflow.
The installer script performs the following main steps:
- Executes prerequisite checks:
- Tests the network connection with the console endpoints.
- Checks if the operating system is supported.
- Downloads the installers (
.msi) of the Axolet agent and the Axoflow agent for Windows. - The installer script installs the packages. If the packages are already installed, the installer will update them to the latest version.
The installer installs:
- The collector agent (by default) to
C:\Program Files\Axoflow\OpenTelemetry Collector\axoflow-otel-collector.exe. - A default configuration file to
C:\ProgramData\Axoflow\OpenTelemetry Collector\config.yaml. - The
axoletmanagement agent (by default) toC:\Program Files\Axoflow\Axolet\axolet.exe.
axolet performs the following main steps on its first execution:
- Generates and persists a unique identifier (GUID).
- Initiates a cryptographic handshake process to AxoConsole.
- AxoConsole issues a client certificate to axolet, which will be stored in the above mentioned
config.jsonfile. - The service waits for an approval on AxoConsole. Once you approve the host registration request, axolet starts to send telemetry data to AxoConsole. It keeps doing so as long as the agent is registered.
To install Axoflow agent on a Windows host, complete the following steps. For other platforms, see Provision pipeline elements.
Prerequisites
-
You’ll need Administrator PowerShell access to the Windows host.
-
Axoflow agent supports the following Windows versions on x86_64 architectures:
- Windows Server 2025
- Windows Server 2022
- Windows Server 2019
- Windows Server 2016
- Windows 11
- Windows 10
-
When using Axoflow agent with an on-premises AxoConsole deployment, you must prepare the Axoflow agent host
Network access
The hosts must be able to access the following domains related to the AxoConsole:
-
When using AxoConsole SaaS:
<your-tenant-id>.cloud.axoflow.io: HTTPS traffic on TCP port 443, needed to download the binaries for Axoflow software (like Axolet and AxoRouter).kcp.<your-tenant-id>.cloud.axoflow.io: HTTPS (mutual TLS) traffic on TCP port 443 for management traffic.telemetry.<your-tenant-id>.cloud.axoflow.io: HTTPS (mutual TLS) traffic on TCP port 443, where Axolet sends the metrics of the host.us-docker.pkg.dev: HTTPS traffic on TCP port 443, for pulling container images (AxoRouter only).
-
When using an on-premise AxoConsole:
-
The following domains should point to AxoConsole IP address to access Axoflow from your desktop and AxoRouter hosts:
your-host.your-domain: The main domain of your AxoConsole deployment.authenticate.your-host.your-domain: A subdomain used for authentication.idp.your-host.your-domain: A subdomain for the identity provider.
-
The AxoConsole host must have the following Open Ports:
- Port 80 (HTTP)
- Port 443 (HTTPS)
-
-
When installing Axoflow agent for Windows or Linux:
github.com: HTTPS traffic on TCP port 443, for downloading installer packages.
Limitations
Communication between the Axoflow agent hosts and AxoRouter hosts uses the OpenTelemetry Protocol (OTLP/gRPC), but currently doesn’t use TLS or authentication.
Install Axoflow agent for Windows
-
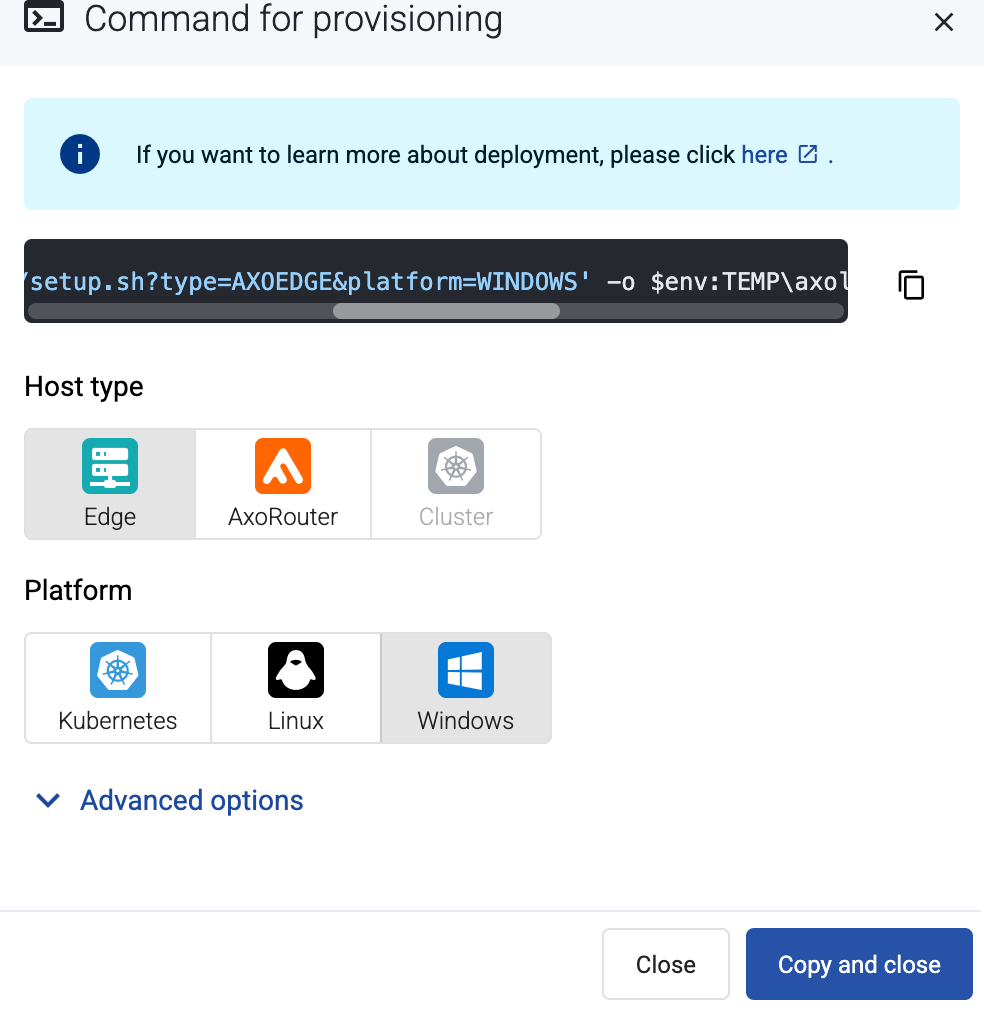
Select Provisioning > Select type and platform.

-
Select the type (Edge) and platform (Windows). The one-liner installation command is displayed.
If needed, set the Advanced options (for example, proxy settings) to modify the installation parameters. Usually, you don’t have to use advanced options unless the Axoflow support team instructs you to do so.
-
Only on Windows Server 2016: Complete these steps to install
curlwhen installing Axoflow agent on Windows Server 2016. Other versions havecurlinstalled by default.-
Download the latest
curlpackage from the curl download page. -
Extract the package into a folder (for example,
C:\curl) -
Add the
curlbinary folder (for example,C:\curl\bin) to the system PATH environment variable.- Open the Control Panel, select System > Advanced System Settings.
- Select Advanced > Environment Variables.
- Select Path from System variables.
- Select Edit > New, then enter the
curlbinary folder path. - Save your settings.
-
-
Open a PowerShell terminal as Administrator on the host where you want to install Axoflow agent.
-
Run the one-liner, then follow the on-screen instructions.
Example output:
curl.exe -fLsH 'X-AXO-TOKEN:xxx' 'https://<your-tenant-id>.cloud.axoflow.io/setup.sh?type=AXOEDGE&platform=WINDOWS' -o $env:TEMP\axolet-installer.ps1; powershell.exe -File $env:TEMP\axolet-installer.ps1 Do you want to install Axolet now? [Y] Installing Axoflow agent... Axolet service is running. Now continue with onboarding the host on the Axoflow web UI. -
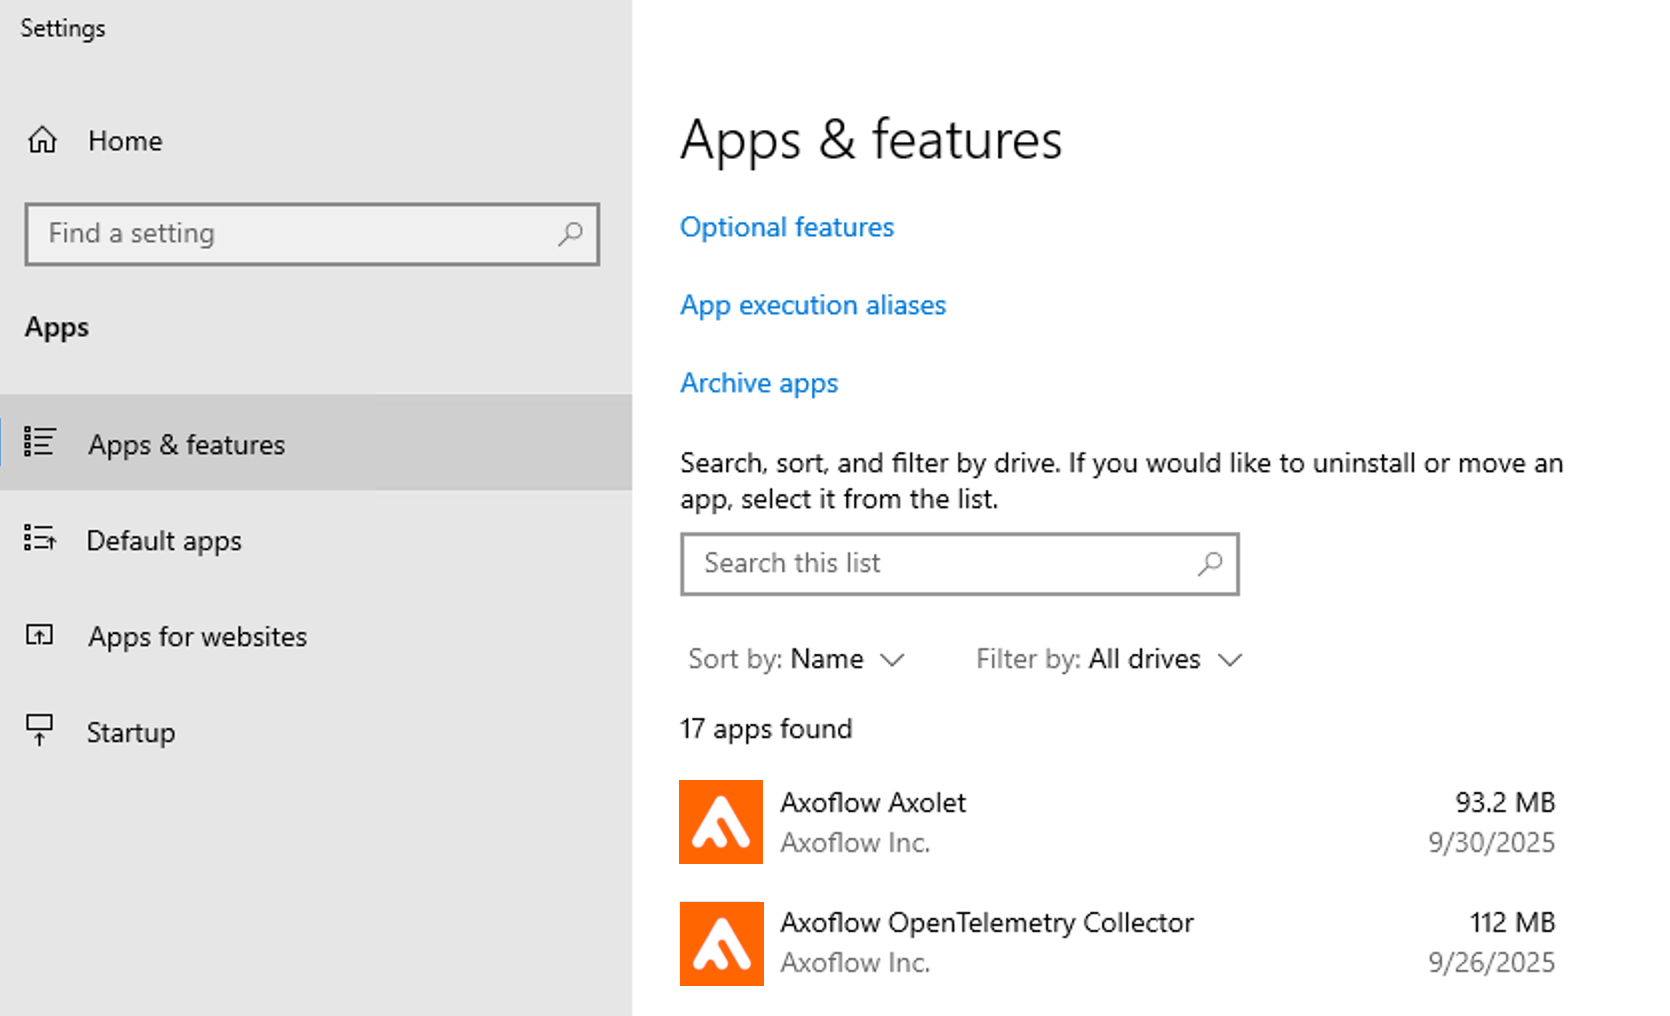
Verify that the
axoletandaxoflow-otel-collectorservices are running.
-
On the AxoConsole, reload the Provisioning page. A registration request for the new host should be displayed. Accept it.
-
The host now appears on the Topology page. To collect data from the host, the host must match the edge selector of an Edge collection rule.
Metadata fields
The AxoRouter connector that receives data from Axoflow agent adds the following fields to the meta variable:
| field | value |
|---|---|
| meta.connector.type | otlp |
| meta.connector.name | <name of the connector> |
| meta.product | windows, windows-dns, windows-dhcp |