Generic tips
The following section gives you a generic overview on how to configure a source to send its log data to Axoflow.
-
If your source has a specific entry in the Vendors section, follow that instead of the generic procedure.
-
To collect data from an edge host, see Edge collection rules.
- Sources are hosts that are sending data to a data aggregator, like AxoRouter.
- Edges are source hosts that are running a collector agent managed by AxoConsole, or have an Axolet agent reporting metrics from the host.
CAUTION:
Make sure to set data forwarding on your appliances/servers as described in this guide. Different settings like alternate message formats or ports might be valid, but can result in data loss or incorrect parsing.Default connectors
Sources can send their data to an AxoRouter connector. By default, AxoConsole has AxoRouter connector rules that create the following connectors on AxoRouter deployments.
The following connector types are available:
Parsing and classification is enabled for the default connectors. To create other connectors, or modify the default ones see AxoRouter connector rules. (The default connector rules have “Factory default connector rule” in their description.)
Open ports
By default, AxoRouter accepts data on the following ports (unless you’ve modified the default connector rules):
- 514 UDP and TCP for RFC3164 (BSD-syslog) and RFC5424 (IETF-syslog) formatted traffic. AxoRouter automatically recognizes and handles both formats.
- 601 TCP for RFC5424 (IETF-syslog) and RFC3164 (BSD-syslog) formatted traffic. AxoRouter automatically recognizes and handles both formats.
- 6514 TCP for TLS-encrypted syslog traffic.
- 4317 TCP for OpenTelemetry log data.
To receive data on other ports or other protocols, configure other connector rules for the AxoRouter host.
For TLS-encrypted syslog connections, create a new connector rule or edit an existing one, and configure the keys and certificates needed to encrypt the connections. For details, see Syslog.
Prerequisites
To configure a source to send data to Axoflow, make sure that:
- You have administrative access to the device or host.
- The date, time, and time zone are correctly set on the source.
- You have an AxoRouter deployed and configured with a Syslog connector that has parsing and classification enabled (by default, every AxoRouter has such connectors). This device is going to receive the data from the source.
-
You know the IP address the AxoRouter. To find it:
- Open the AxoConsole.
- Select the Routers or the Topology page.
- Select on AxoRouter instance that is going to receive the logs.
- Check the Networks > Address field.
Steps
-
Log in to your device. You need administrator privileges to perform the configuration.
-
If needed, enable syslog forwarding on the device.
-
Set AxoRouter as the syslog server. Typically, you can configure the following parameters:
-
Name or IP Address of the syslog server: Set the address of your AxoRouter.
-
Protocol: If possible, set TCP or TLS.
Note If you’re sending data over TLS, make sure to configure a TLS-enabled connector rule in Axoflow. -
Syslog Format: If possible, set RFC5424 (or equivalent), otherwise leave the default.
-
Port: Set a port appropriate for the protocol and syslog format you have configured.
By default, AxoRouter accepts data on the following ports (unless you’ve modified the default connector rules):
- 514 UDP and TCP for RFC3164 (BSD-syslog) and RFC5424 (IETF-syslog) formatted traffic. AxoRouter automatically recognizes and handles both formats.
- 601 TCP for RFC5424 (IETF-syslog) and RFC3164 (BSD-syslog) formatted traffic. AxoRouter automatically recognizes and handles both formats.
- 6514 TCP for TLS-encrypted syslog traffic.
- 4317 TCP for OpenTelemetry log data.
To receive data on other ports or other protocols, configure other connector rules for the AxoRouter host.
For TLS-encrypted syslog connections, create a new connector rule or edit an existing one, and configure the keys and certificates needed to encrypt the connections. For details, see Syslog.
Note Make sure to enable the ports you’re using on the firewall of your host.
-
-
Add the source to AxoConsole.
-
Open the AxoConsole and select Topology.
-
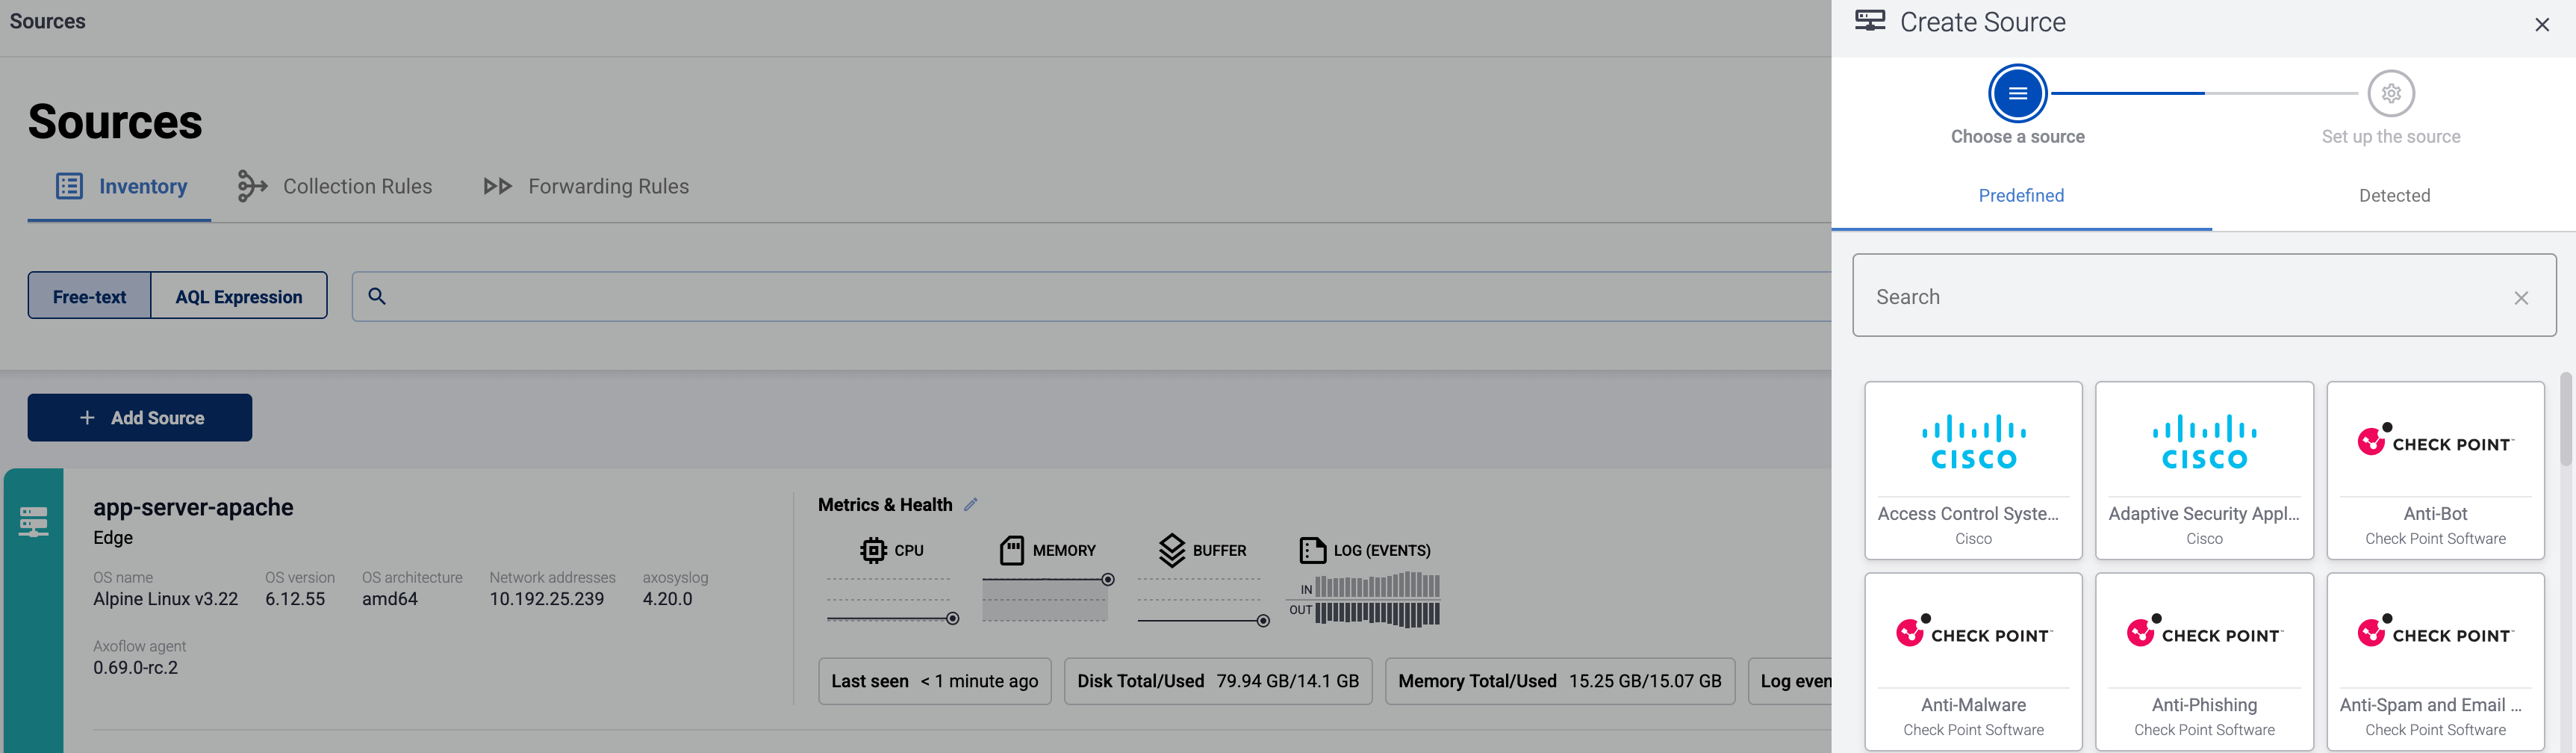
Select Add Item > Source.
-
If the source is actively sending data to an AxoRouter instance, select Detected, then select your source.
-
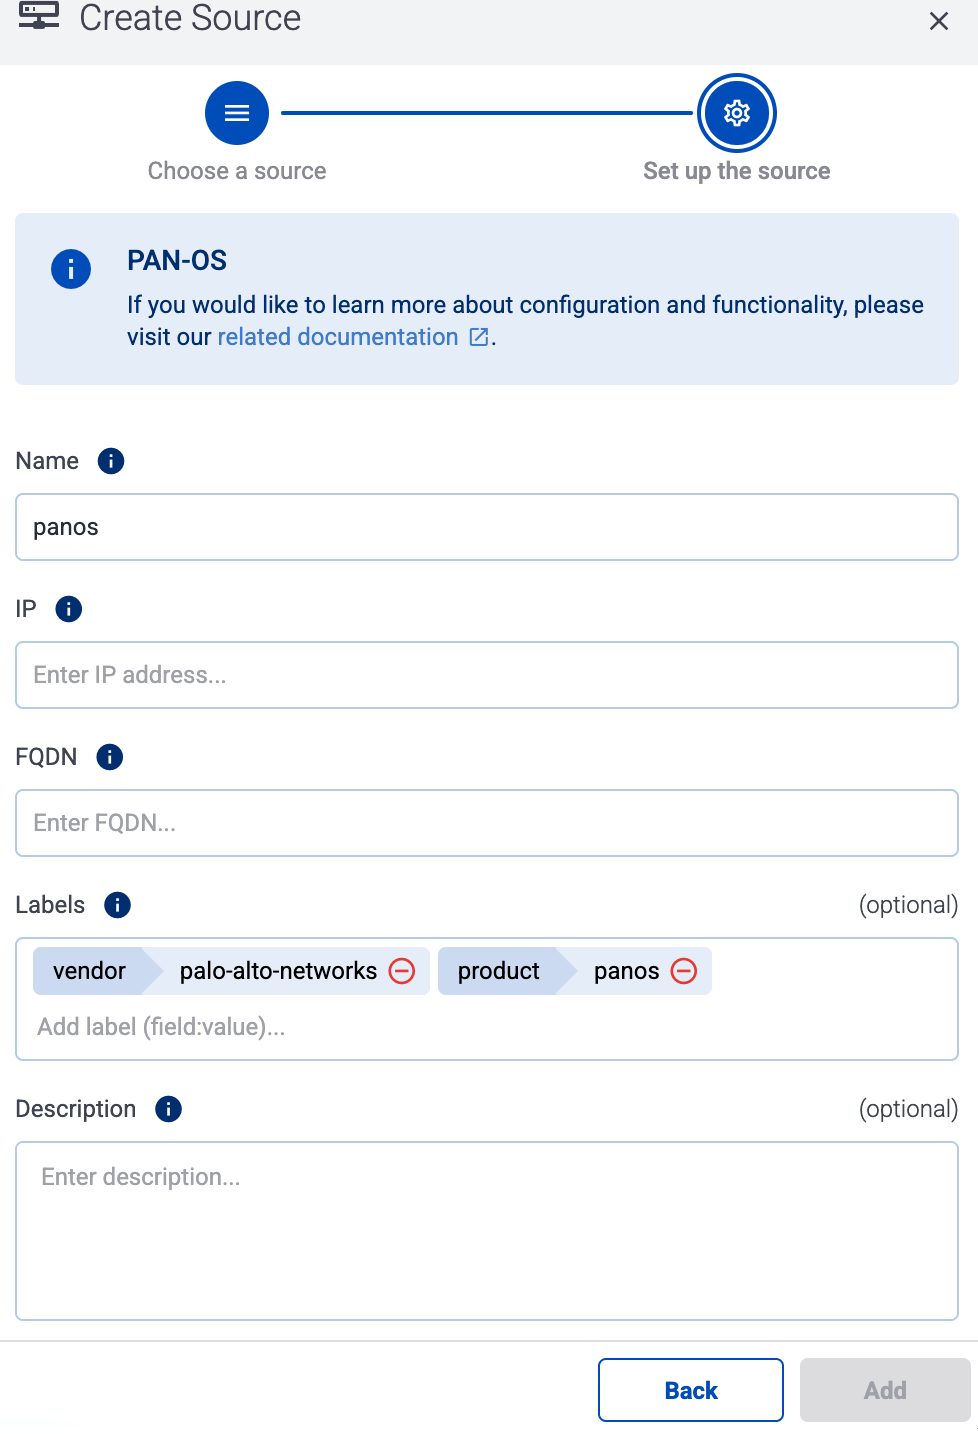
Otherwise, select the vendor and product corresponding to your source from the Predefined sources, then enter the parameters of the source, like IP address and FQDN.
Note During log tapping, you can add hosts that are actively sending data to an AxoRouter instance by clicking Register source. -
-
(Optional) Add custom labels as needed.
-
Select Add.
-
(Optional) Add Path manually. That’s needed only when AxoConsole can’t detect the path based on the IP address and the FQDN, and you haven’t yet configured the source to send data to the router.
-
syslog-ng, Splunk Connect for Syslog (SC4S), or AxoSyslog as its log forwarder agent, consider installing Axolet on the host and instrumenting the configuration of the log forwarder to receive detailed metrics about the host and the processed data. For details, see Manage and monitor the pipeline.