Dynatrace
Dynatrace: Unified Observability — Drive business transformation with contextual analytics, AI, and automation.
To add a Dynatrace destination to Axoflow, complete the following steps.
Prerequisites
-
An access token to your Dynatrace instance. The token must have access to the Log ingestion API endpoint.
-
Your AxoRouters that are sending data to Dynatrace must have network access to the following Log Ingestion endpoints:
- For the Cloud collector, when you’re sending data directly to the Dynatrace SaaS:
https://{your-environment-id}.live.dynatrace.com/api/v2/logs/ingest - For the
ActiveGatecollector:https://{your-activegate-domain}:9999/e/{your-environment-id}/api/v2/logs/ingest
If nothing prevents it, we recommend using the Cloud collector.
- For the Cloud collector, when you’re sending data directly to the Dynatrace SaaS:
-
Make sure to configure the limits of your Dynatrace instance to make sure it can ingest the amount of data you’re sending.
Steps
-
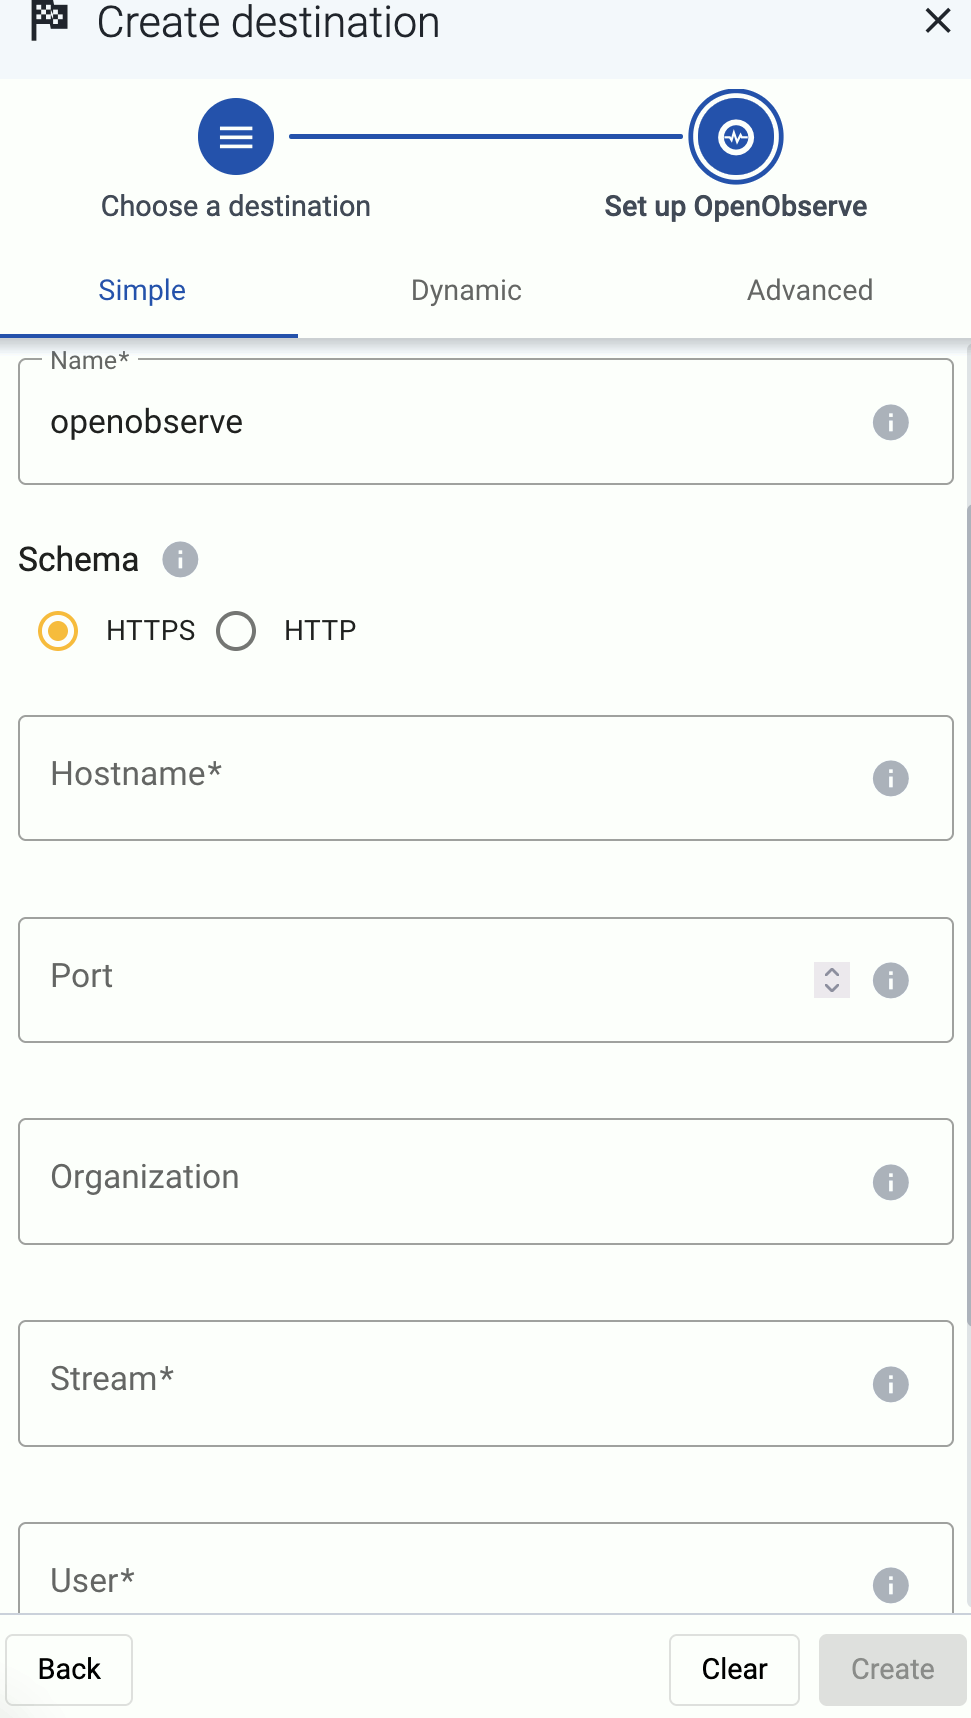
Create a new destination.
- Open the AxoConsole.
- Select Destinations > + Add Destination.
-
Configure the destination.
-
Select Dynatrace.
-
Enter a name for the destination.
-
Enter the token you’ve created into the Token field.
-
Select the Dynatrace Bucket type (Logs or Security events) where you want to send the data. Where exactly the data will be stored in Dynatrace depends on your Bucket assignment rules.
-
Select the type of Dynatrace Collector where you want to send the data:
- Cloud: Send data directly to your Dynatrace SaaS subscription.
- ActiveGate: Send data directly to a local ActiveGate endpoint.
- Advanced: Specify a custom URL endpoint.
If nothing prevents it, we recommend using the Cloud collector.
-
Configure the endpoint of the destination, depending on the collector type you’ve selected.
-
Cloud: Provide your Environment Id for your Dynatrace SaaS subscription.
-
ActiveGate:
- Provide your Environment Id for your Dynatrace SaaS subscription.
- Enter the Domain (or hostname) where your Dynatrace ActiveGate is running.
- Enter the Port number where ActiveGate is listening on. Usually it’s
9999. and optionally the Port of the ActiveGate endpoint where you want to send your data.
-
Advanced: Specify a custom URL endpoint.
-
-
(Optional) Set other options as needed for your environments.
- Timeout: The number of seconds to wait for a log-forwarding request to complete, and attempt to reconnect the server if exceeded. If the timeout is exceeded, AxoRouter attempts to reconnect the destination. The default (
0) is unlimited. For more details, see the AxoSyslog documentation.
-
Disk Buffer: Explicitly enable or disable disk buffer on AxoRouter. Default value: Enabled.
AxoRouter can store messages on the local disk if the destination or the network connection to the destination becomes unavailable. AxoRouter automatically sends the stored messages (in the order they were received) to the destination when the connection is reestablished. Note that the disk buffer is separate from AxoStore.
Capacity Bytes: Size of the disk buffer files in bytes. This value applies for each worker. Default value is 100MiB (104857600 bytes), which is also the recommended minimum.
The disk required for using disk buffering is Capacity Bytes*Number of Workers for each destination of AxoRouter.
-
Batch Bytes: Sets the maximum size of payload in a batch. If the size of the messages reaches this value, AxoRouter sends the batch to the destination even if the number of messages is less than the value of the batch lines option.
CAUTION:
When setting Batch Bytes:
- Note that the actual HTTP request will be about 4KB larger because of the request headers.
- Check the configuration of your destination, as SaaS solutions and ingress controllers often limit the maximal size of HTTP requests. If the sum of Batch Bytes and the request headers exceeds this limit, the data will be rejected. (In case of NGINX, with a
client intended to send too large bodyerror message.)
-
Batch Lines: Number of lines sent to the destination in one batch. AxoRouter waits for this number of lines to accumulate and sends them off in a single batch. Increasing this number increases throughput as more messages are sent in a single batch, but also increases message latency.
Note that Initial window size * Maximum Connections must be greater or equal than Batch lines * Number of workers for all the sources that feeds a given destination. Otherwise, the destination worker might be unable to send data until Batch timeout expires, even if there’s data available.
For more details, see the AxoSyslog documentation.
-
Batch Timeout: Maximal time in milliseconds to wait for a batch to be filled before sending it. The default value (
-1) means that the batch should be full before sending, which may result in a long wait if the incoming traffic is low. For more details, see the AxoSyslog documentation.
- Content compression: Specifies the compression to use when sending data to the destination.
No compressionexplicitly disables compression. Other possible values:Gzip,Deflate. Select only compression that your destination supports and has enabled. Default value:No compression
- Number of Workers: Used for scaling the destination in case of high message load. Specifies the number of worker threads AxoRouter uses for sending messages to the destination. The default is 1. If high message throughput is not a concern, leave it on 1. For maximum performance, increase it up to the number of CPU cores available on AxoRouter. For more details, see the AxoSyslog documentation.
- Timeout: The number of seconds to wait for a log-forwarding request to complete, and attempt to reconnect the server if exceeded. If the timeout is exceeded, AxoRouter attempts to reconnect the destination. The default (
-
-
Create a flow to connect the new destination to an AxoRouter instance.
-
Select Flows.
-
Select Add Flow.
-
Enter a name for the flow, for example,
my-test-flow.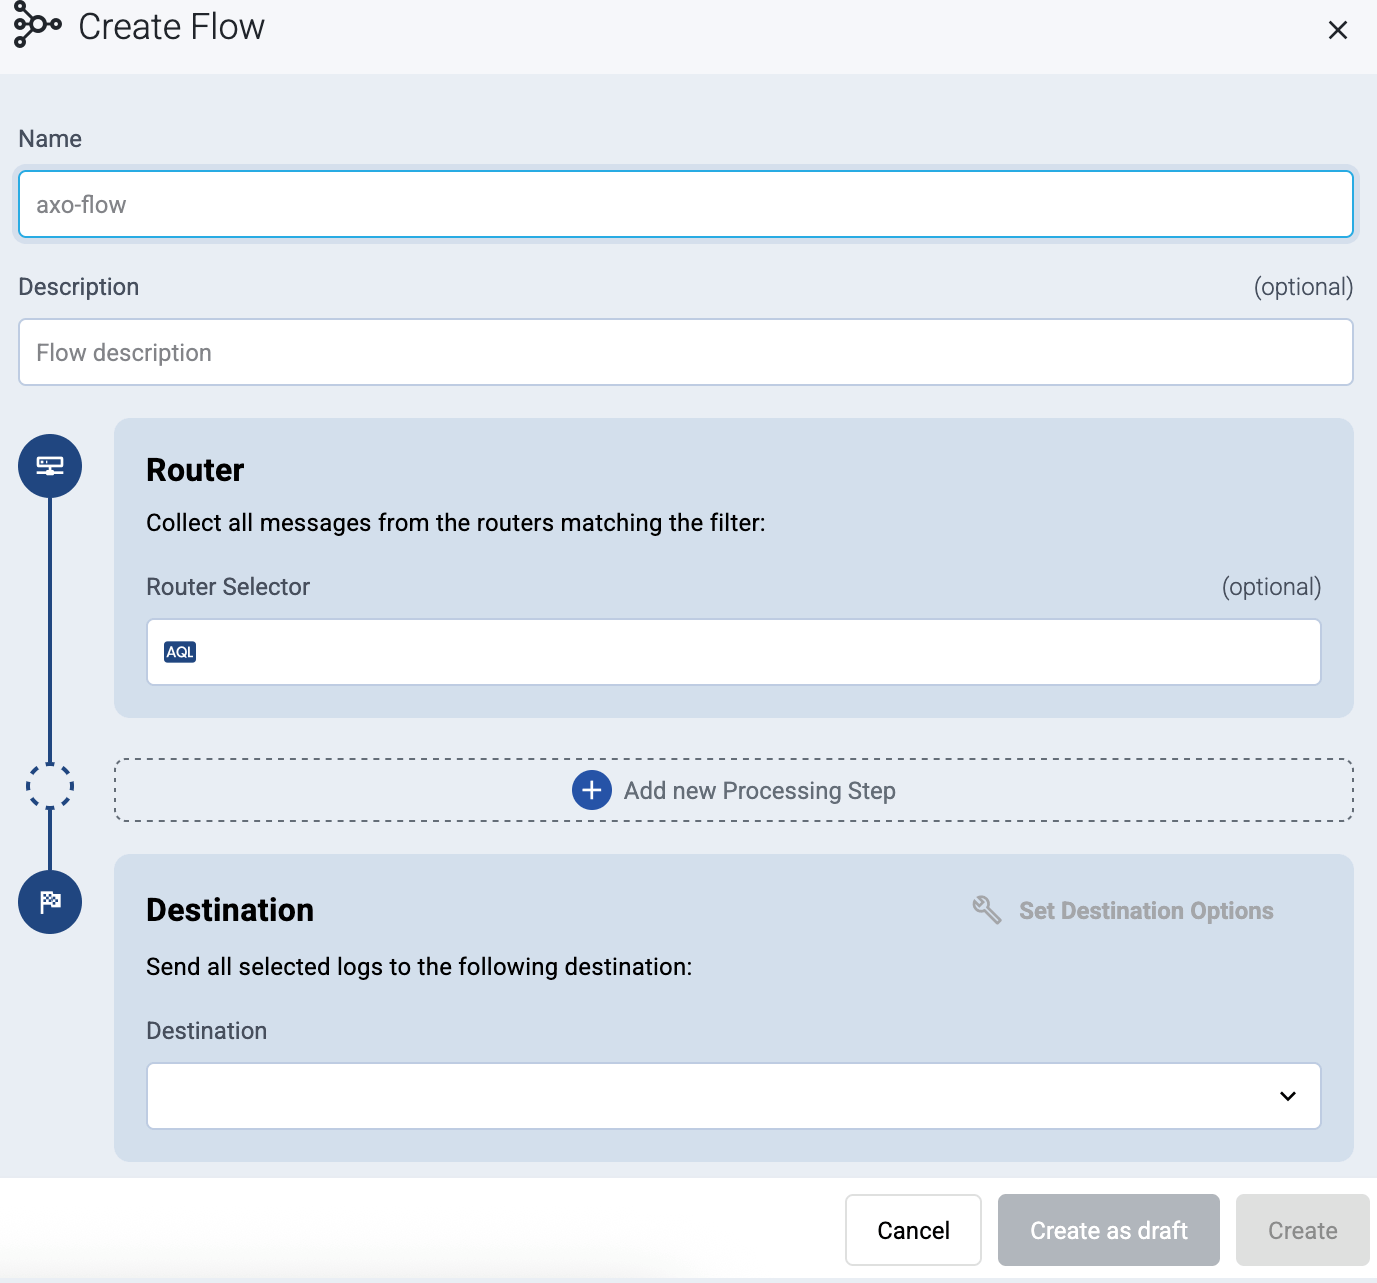
-
In the Router Selector field, enter an expression that matches the router(s) you want to apply the flow. To select a specific router, use a name selector, for example,
name = my-axorouter-hostname.You can use any labels and metadata of the AxoRouter hosts in the Router selectors, for example, the hostname of the AxoRouter, or any custom labels.
- If you leave the Router Selector field empty, the selector will match every AxoRouter instance.
- To select only a specific AxoRouter instance, set the
namefield to the name of the instance as selector. For example,name = my-axorouter. - If you set multiple fields in the selector, the selector will match only AxoRouter instances that match all elements of the selector. (There in an AND relationship between the fields.)
-
Select the Destination where you want to send your data. If you don’t have any destination configured, you can select + Add in the destination section to create a new destination now. For details on the different destinations, see Destinations.
- If you don’t have any destination configured, see Destinations.
- If you’ve already created a store, it automatically available as a destination. Note that the Router Selector of the flow must match only AxoRouters that have the selected store available, otherwise you’ll get an error message.
- If you want to send data to another AxoRouter, enable the Show all destinations option, and select the connector of the AxoRouter where you want to send the data.

-
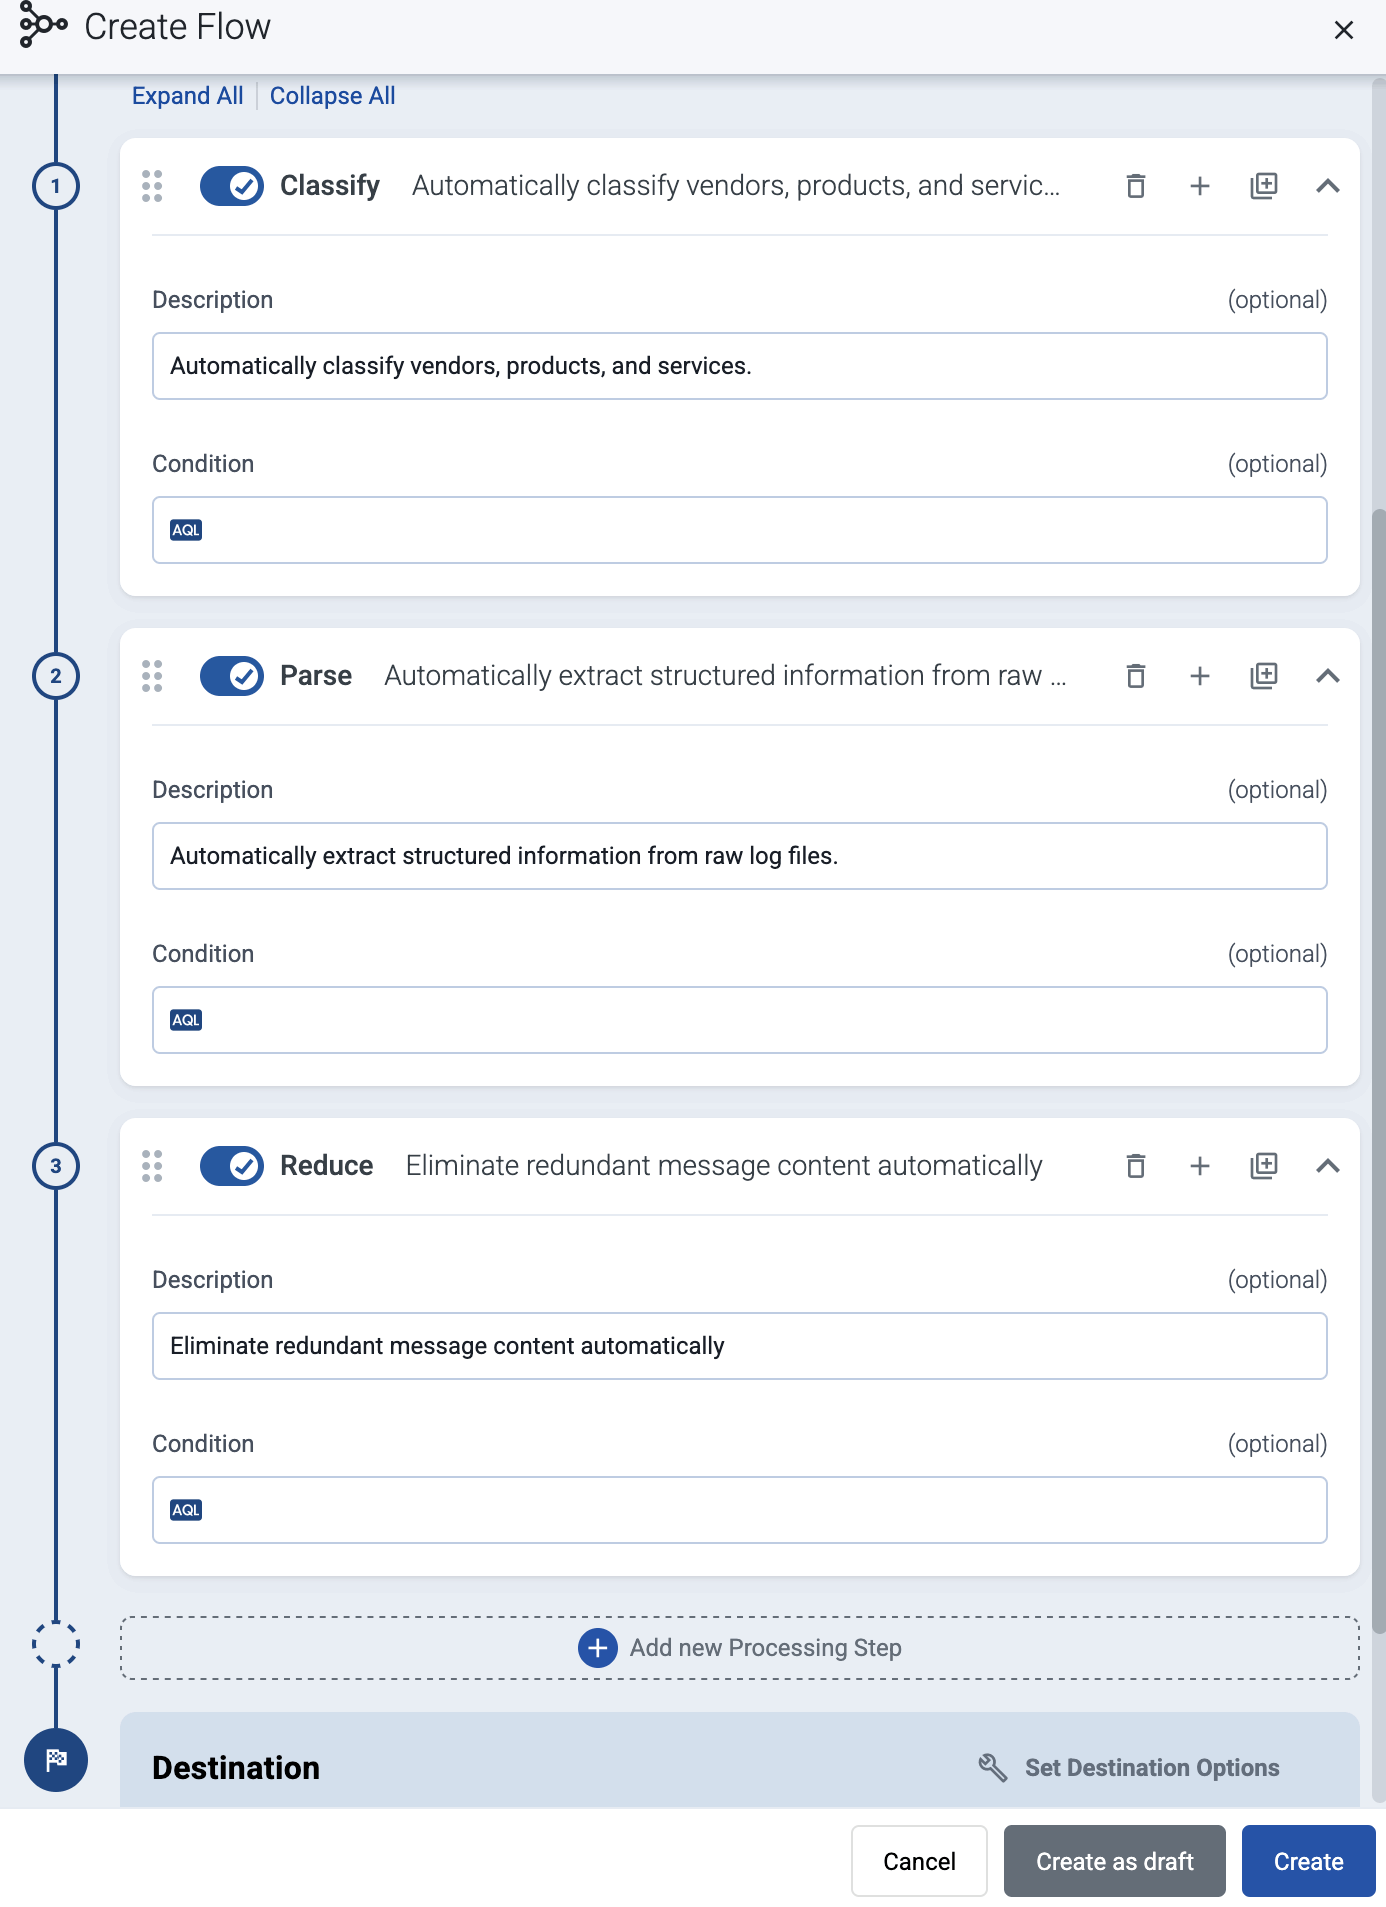
(Optional) To process the data transferred in the flow, select Add New Processing Step. For details, see Processing steps. For example:
- Add a Classify, a Parse, and a Reduce step, in that order, to automatically remove redundant and empty fields from your data.
- To select which messages are processed by the flow, add a Select Messages step, and enter a filter into the AQL Expression field. For example, to select only the messages received from Fortinet FortiGate firewalls, use the
meta.vendor = fortinet AND meta.product = fortigatequery. - Save the processing steps.
-
Select Add.
-
The new flow appears in the Flows list.

-
Related message fields
You can use the following message fields to modify messages sent to this destination using processing steps.