1 - Heavy Forwarder
Heavy Forwarder: Receive data from Splunk.
This page describes how to configure your Splunk Heavy Forwarders to send data to AxoRouter.
Forwarding considerations
The Axoflow Forwarder Add-on works beside an existing Splunk configuration by creating an axoflow server group. Messages get cloned to the axoflow group separately during a transformation process.
The axoflow server group should not be part of the defaultGroup in the [tcpout] stanza otherwise all messages will be sent to AxoRouter twice. If the defaultGroup is not configured already, you can either:
-
Disable forwarding completely.
[tcpout] defaultGroup = NoForward -
Use a specific default group. For example, use
default-autolb-group, as servers added through the UI will be part of it by default.[tcpout] defaultGroup = default-autolb-group
Prerequisites
- Once you made sure
defaultGroupis configured correctly, you’ll need to install the Axoflow Forwarder Add-on on your Heavy Forwarders. Currently, you can request the add-on directly from Axoflow. Contact our support team for details. -
You know the IP address the AxoRouter. To find it:
- Open the AxoConsole.
- Select the Routers or the Topology page.
- Select on AxoRouter instance that is going to receive the logs.
- Check the Networks > Address field.
Steps
To configure your Splunk Heavy Forwarders to send data to AxoRouter. Complete the following steps.
-
Create a new Syslog Connector rule with the following parameters:
-
Select Routers > Add Rule > Syslog > Custom
-
Enter
splunk-hfinto the Rule Name field.
-
Set the Router Selector so it matches the AxoRouter instances where your Splunk Heavy Forwarders will be forwarding their data. If you leave the Router Selector field empty, the rule will match all AxoRouters.
You can use any labels and metadata of the AxoRouter hosts in the Router selectors, for example, the hostname of the AxoRouter, or any custom labels.
- If you leave the Router Selector field empty, the selector will match every AxoRouter instance.
- To select only a specific AxoRouter instance, set the
namefield to the name of the instance as selector. For example,name = my-axorouter. - If you set multiple fields in the selector, the selector will match only AxoRouter instances that match all elements of the selector. (There in an AND relationship between the fields.)
-
In the Preprocessing steps section, enable Classify.

-
In the Syslog settings section:
- Select the TCP protocol.
- Select NUL terminated framing.
- Enter 9900 into the Port field.
-
Select Add.
-
-
Install the Axoflow Forwarder Add-on you’ve received from the Axoflow Support Team on your Splunk Heavy Forwarders.
-
Configure name resolution for the
axorouterhost by completing one of the following:-
Add
axorouterto the/etc/hostsfile to resolve to the IP address of your AxoRouter instance where this host is sending data. -
Alternatively, you can add the following snippet to your
/opt/splunk/etc/system/local/outputs.conffile:[tcpout:axoflow] server = <AXOROUTER_IP1>:9900, <AXOROUTER_IP2>:9900 # configure maxQueueSize to allow for a temporary in-memory buffer if the destination is slow or unavailable # maxQueueSize = 100MB # configure a persistentQueueSize to allow for data to be queued on disk if the destination is slow or unavailable # persistentQueueSize = 1GBNote that if you set multiple AxoRouters in the
serverfield, the forwarder will load-balance among them.Configure either in-memory (
maxQueueSize) or on-disk (persistentQueueSize) queueing to avoid data loss in case the destination is slow or unavailable.
-
-
Install the Axoflow Forwarder Add-on using the Splunk UI.
-
Restart
splunkd.
-
-
Add the source to AxoConsole.
-
Open the AxoConsole and select Topology.
-
Select Add Item > Source.
-
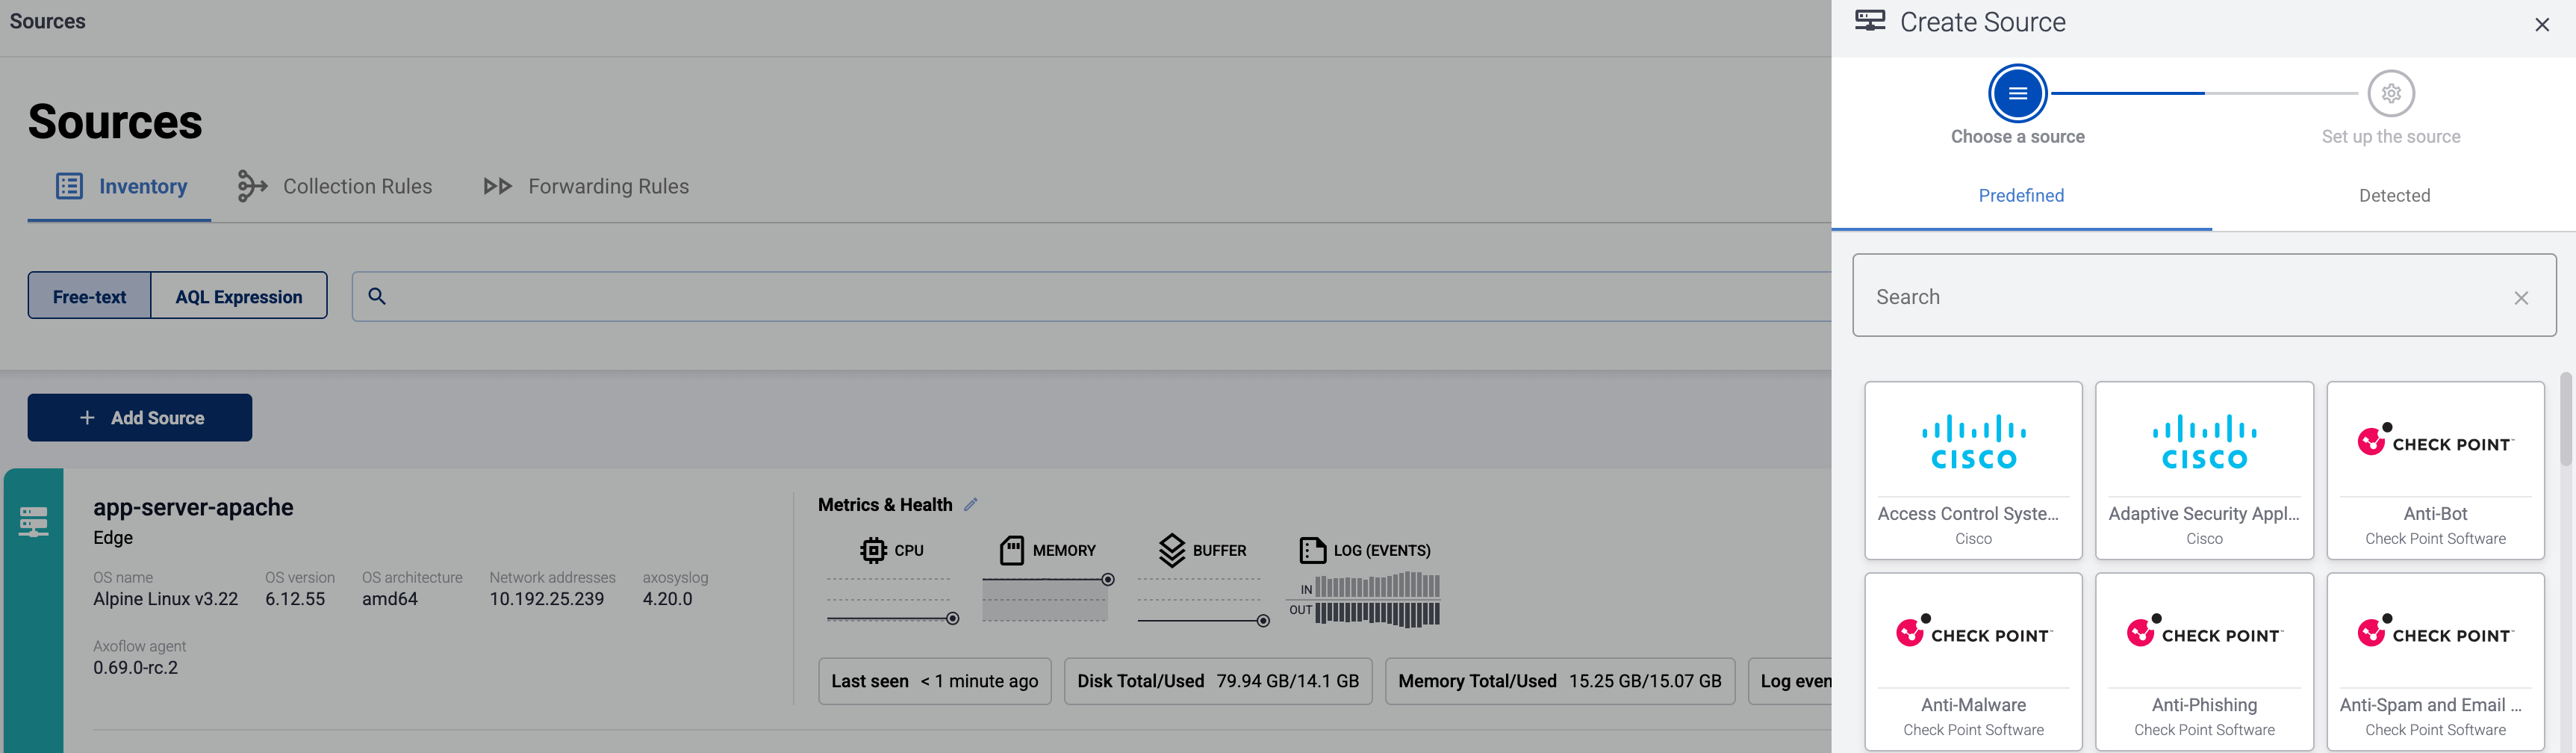
If the source is actively sending data to an AxoRouter instance, select Detected, then select your source.
-
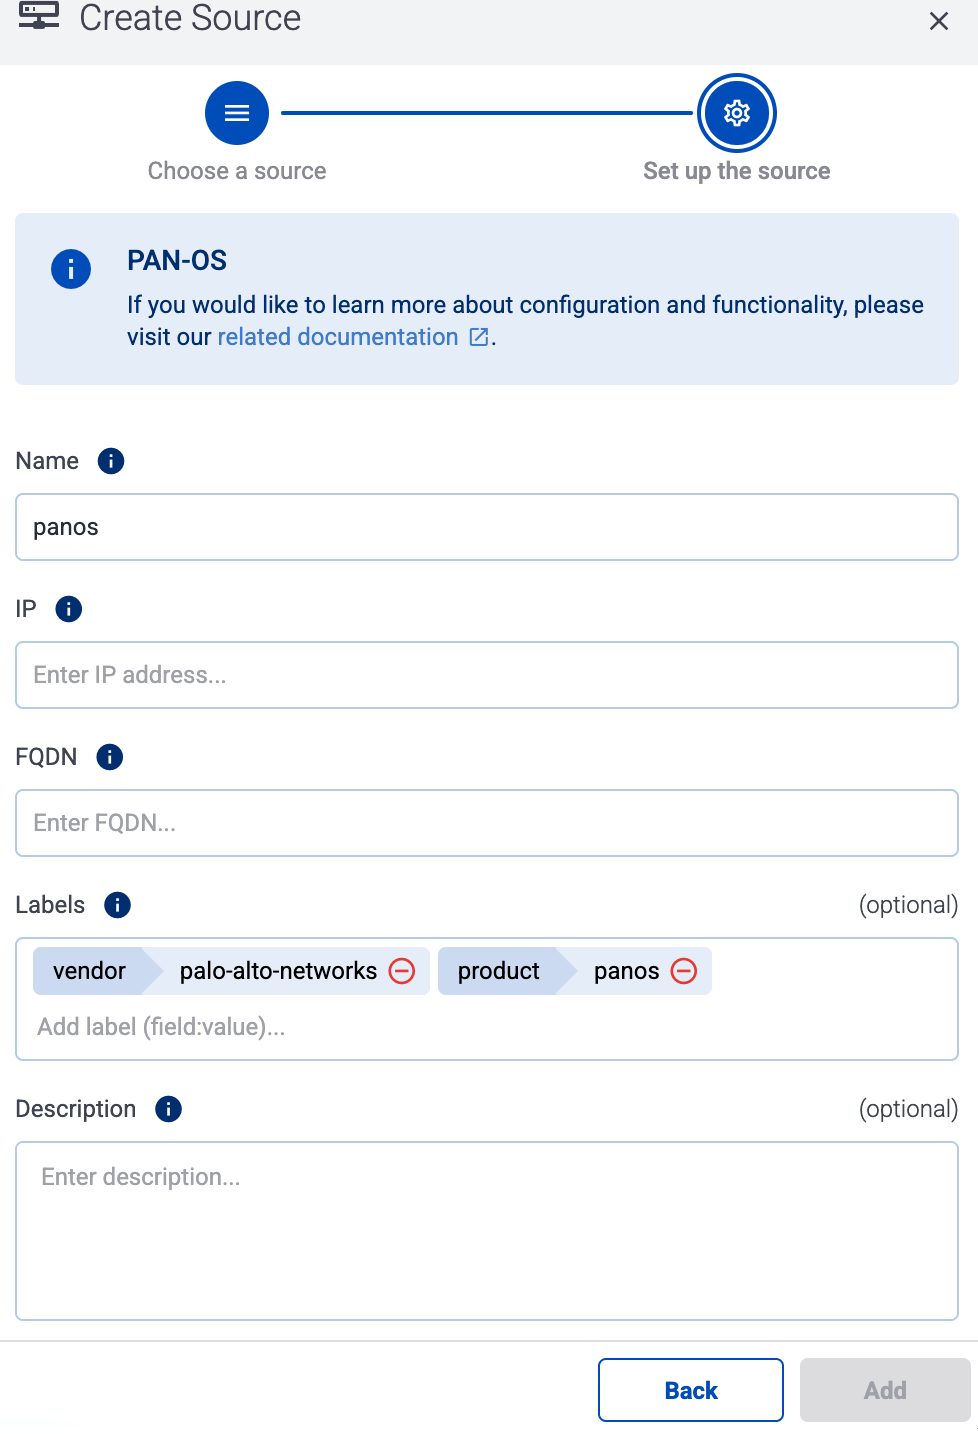
Otherwise, select the vendor and product corresponding to your source from the Predefined sources, then enter the parameters of the source, like IP address and FQDN.
Note During log tapping, you can add hosts that are actively sending data to an AxoRouter instance by clicking Register source. -
-
(Optional) Add custom labels as needed.
-
Select Add.
-
Classification on AxoRouter
Note that when AxoRouter receives logs from Splunk HF using the Axoflow Forwarder Add-on:
- If classification is disabled on AxoRouter, the original source, sourcetype, index, timestamp and host metadata are preserved.
- If classification is enabled, then a successful classification overrides the sourcetype and the index, while the timestamp and host are overwritten if the original message contains these more specific information.
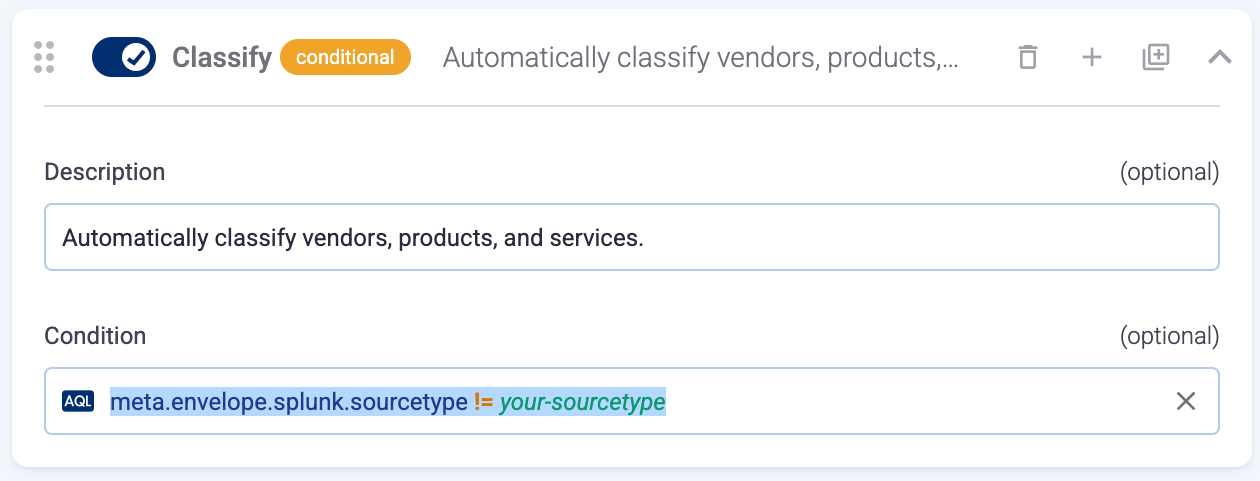
- If you want to disable the automatic classification on AxoRouter for certain messages received from the Axoflow Forwarder Add-on, add a Condition to the Classify processing step in the related flow, so the Condition won’t match the sourcetype. For example:
meta.envelope.splunk.sourcetype != your-sourcetype